In this Tkinter Label tutorial, we will learn, how to create and use a label in Python Tk() class. The Label is a widget class in Tkinter module to display text or image on Tk() window. The Label can use to show project name, company name or project title on the window. It can also use to show icons or image on the window screen. we can change font size and style of Label widget with the help of given attributes. here we will learn about how to show text and image on Label with example.
First Example of Label in Tkinter
from tkinter import *
win=Tk()
l1=Label(win, text="My First Label")
l1.grid(row=0, column=0)
win.mainloop()
Now run the code, it will show “My First Label” as text on Label widget.
l1=Label(win,text="My First Label")
l1.grid(row=0,column=0)
The two-line of code is used to create and show label on the window. The first line creates an object of Label class having two-parameter, the first parameter is an object of the parent window, in our case “win”, and the second parameter specifies the text to show on the label. The second line controls the appearance of Label in the window, grid() specifies the row and column number on the screen. row=0 and column=0 guide the Tkinter to show label on the top left most corner of the screen.
Show Text on Label
from tkinter import *
win=Tk()
win.geometry('250x250')
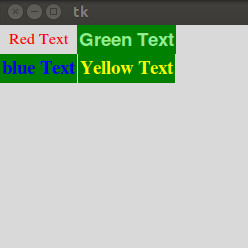
l1=Label(win,text="Red Text",fg = "red",font = "Times")
l1.grid(row=0,column=0)
l2=Label(win,text="Green Text",fg="light green",bg="green",font="Helvetica 14 bold")
l2.grid(row=0,column=1)
l3=Label(win,text="blue Text",fg="blue",bg="green",font ="Times  14 bold")
l3.grid(row=1,column=0)
l4=Label(win,text="Yellow Text",fg="yellow",bg="green",font="Times 14 bold")
l4.grid(row=1,column=1)
win.mainloop()
Show Image on Label
from tkinter import *
win=Tk()
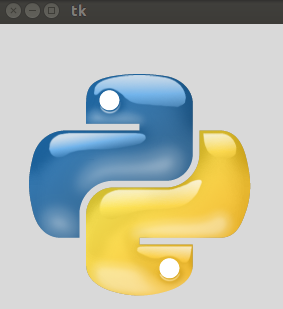
img=PhotoImage(file="python-logo.png")
l1=Label(win,image=img)
l1.grid(row=0,column=0)
win.mainloop()
The image should be in the same folder of code. PhotoImage() is used to create Image object in python Tkinter.
